Mastering a handful of basic knife cuts will transform your kitchen abilities, giving you the confidence to take on any recipe.
But I get it: All of these French-named cuts can be intimidating enough to turn away a home cook.
So I’m writing this guide to share my experiences from a decade in the culinary industry. By the end of it, I hope to demystify this organized system of cuts and give you tangible evidence of your own ability to slice, dice, mince, and chop like a pro.
In This Article
18 Knife Cuts, and When to Use Them
At first, 18 different cuts might sound like a lot to learn. To help with that, I’ve organized them from the simplest to the most intricate, and grouped similar cuts together. That way, you’ll be able to practice from start to finish, developing your knife skills as you go.
The Rustic Cuts
Before we get into precise French cuts, let’s get three easy-to-use techniques down. These will get you started on the road towards more specialized knife skills. So grab your chef’s knife, and let’s jump right in.
Rough Chop
The most basic knife cut of all, rough chopping is a great place to start. Take any ingredient you’d like, and cut it into pieces about ¾ inch long. At this point, you don’t have to worry about making them uniform; just go with the flow. I use a rough chop to cut carrots and potatoes for a rustic wintertime soup.
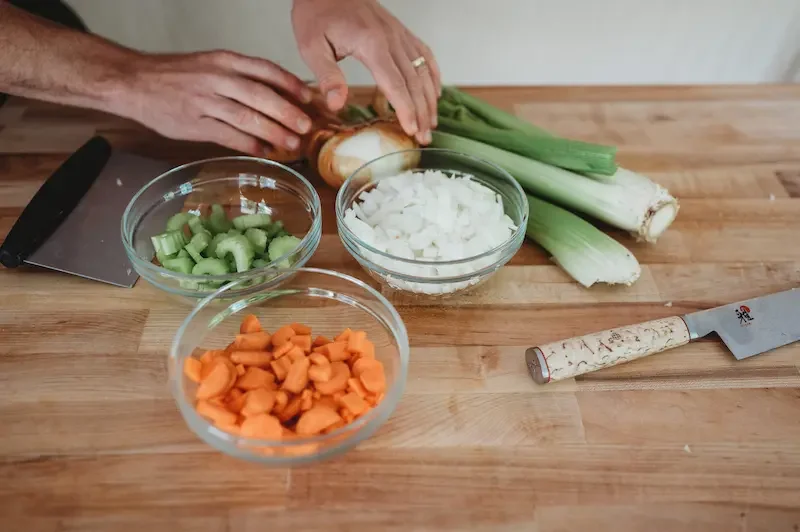
Chop
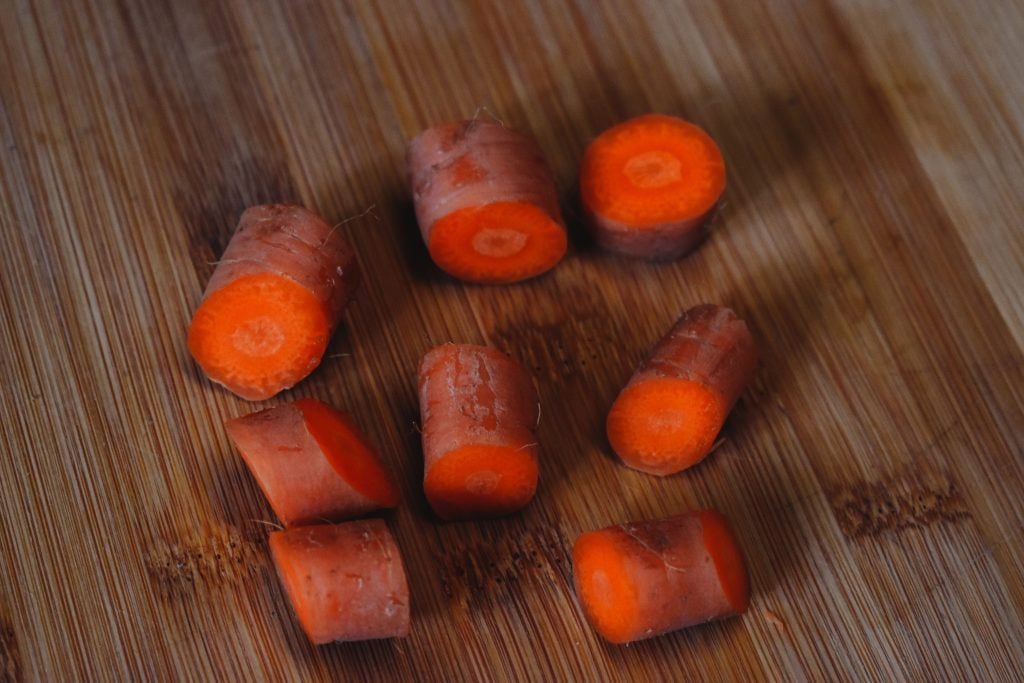
If you take the large, irregular pieces of vegetables you made with the rough chop above, you’re already halfway towards a standard chop. Instead of aiming for ¾ inch pieces, make them smaller — about ¼ to ½ inch. Again, you don’t need to worry about uniform cuts at this point; the rustic look is part of this style of knife cut. You can use the small chop to put together a quick sheet-pan meal, with sweet potatoes, squash, or carrots and a couple of chicken breasts.
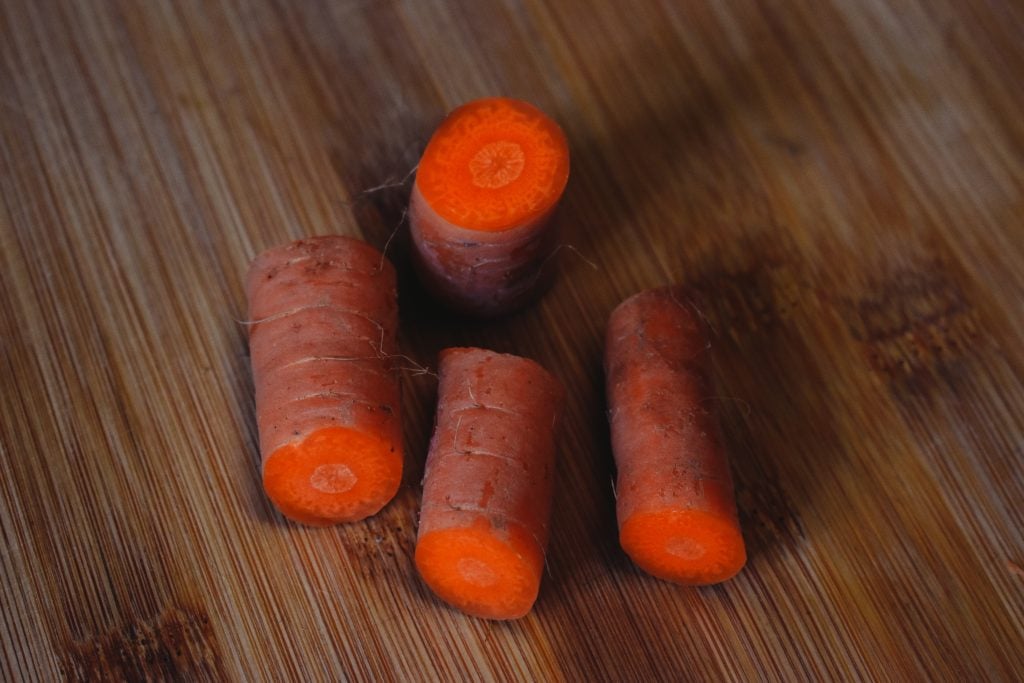
Paysanne
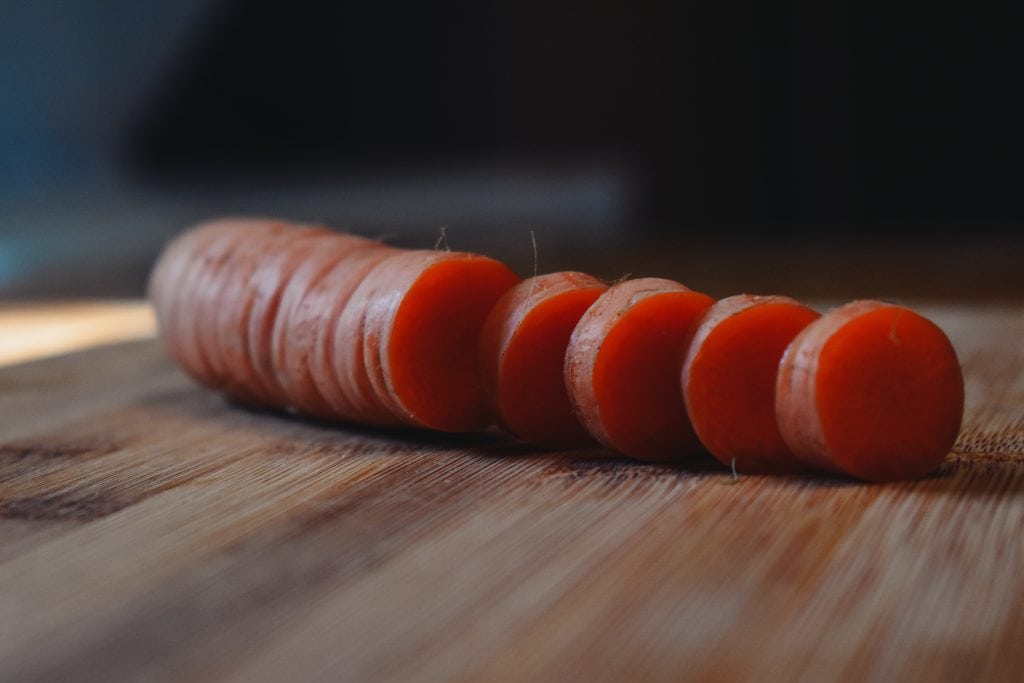
Literally translated as “country style”, knife cuts made en paysanne follow the natural shape of a vegetable. A carrot is a perfect example: Put it onto your chopping board, and make thin, round slices about ½ inch thick. You’ll end up with a handful of carrot disks in varying sizes. This is also an excellent cut for soup, and can be combined with rough chopped pieces to get a nice visual contrast.
The Baton Family
Cutting short, straight sticks of uniform length is a classic french knife technique. Once you’ve practiced it enough to consistently hit the measurements listed, all of your dishes will cook quickly and evenly.
Before you start, a word about baton cuts: They require more setup than the rustic cuts listed above. You’ll need to peel your vegetables first, and cut off both of the rough ends, a technique called “topping and tailing”.
Then, you’ll have to cut the sides off of your ingredient to make a square or rectangular shape. This makes a fair amount of waste trimmings — but don’t throw them away! Set them to one side, and save them for making hearty vegetable stock.
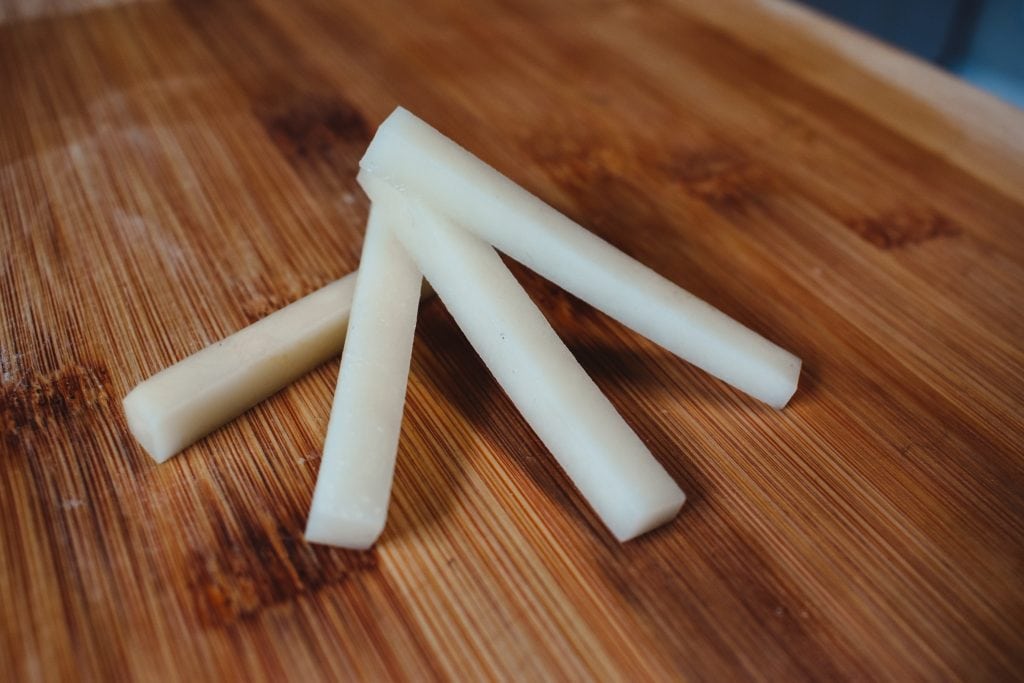
Baton

With the baton cut, we enter into our strictly defined French knife cuts. There’s a good reason for the specificity: It will allow you to achieve consistent results, as all of the pieces will cook at the same rate. A proper baton cut will measure either ½ inch by ½ inch or ¾ inch by ¾ inch, and be 2 to 3 inches long. It’s an excellent knife cut for thick french fries
Batonnet
Next in line after the baton comes the batonnet, or “little stick”. Using the same technique as the baton, simply cut smaller sticks — ¼ inch by ¼ inch by 2 to 3 inches long. This is the classic french fry cut, and an excellent cut for making presentation-ready crudites.
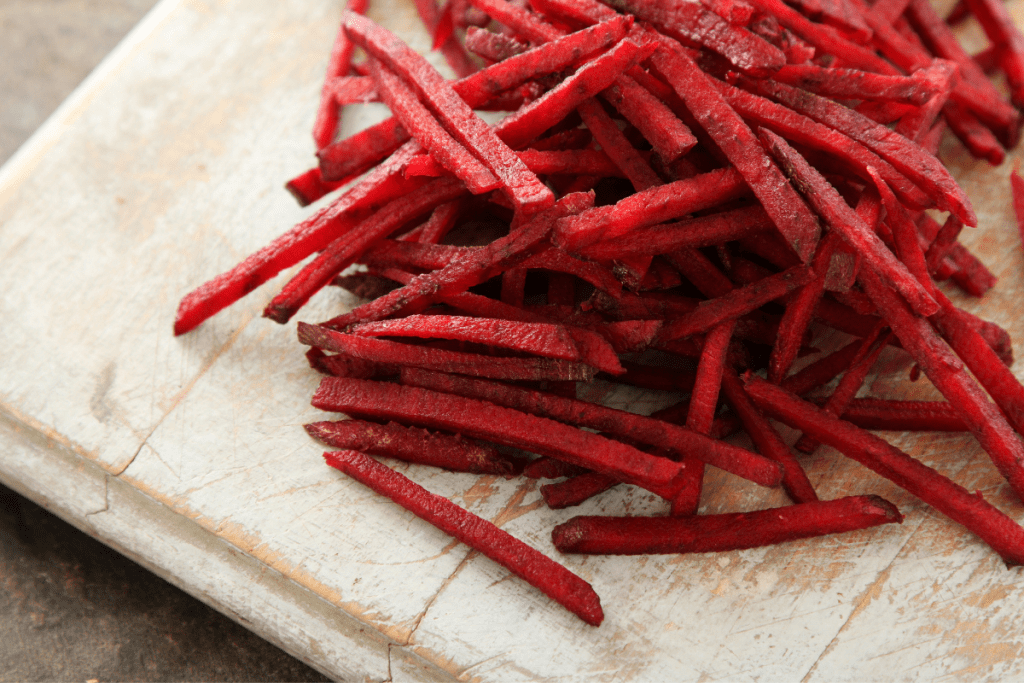
Julienne
Thin, European-style French fries are the result of the Julienne cut. Measuring ⅛ inch by ⅛ inch by 2 to 3 inches long, julienne cut vegetables cook quickly and evenly. Mastery of the julienne cut is a big step in your knife skills, so don’t be too hard on yourself if they don’t come out perfectly the first time.
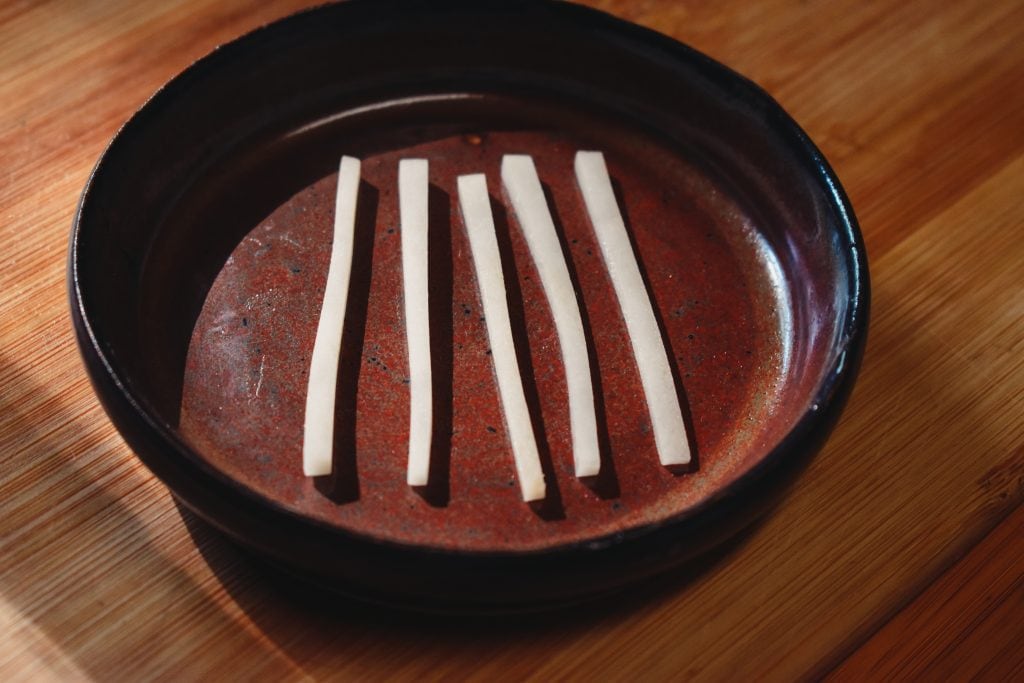
Fine Julienne (Alumette)
Translated literally, the allumette is the “matchstick cut”. Unsurprisingly, it looks nearly identical to a wooden matchstick. Using the same technique as the batonnet, you’ll cut even smaller sticks, making this a real test of your knife’s sharpness. Fine julienne sticks will measure 1/16 inch by 1/16 inch by 2 to 3 inches long. They’re an excellent cut to use with firm fruits like apples or pears, which you can use to decorate a fresh green salad.
The Dice Family
Once you’ve practiced any of the baton cuts listed above, you’re well on your way to precise dicing. That’s because each of the successive stages of dicing starts with one of the baton cuts! After you’ve matched up the size of the baton cut you’re looking for, each of these dices is as simple as turning the ingredient sideways and continuing to cut it into cubes.
Large Dice
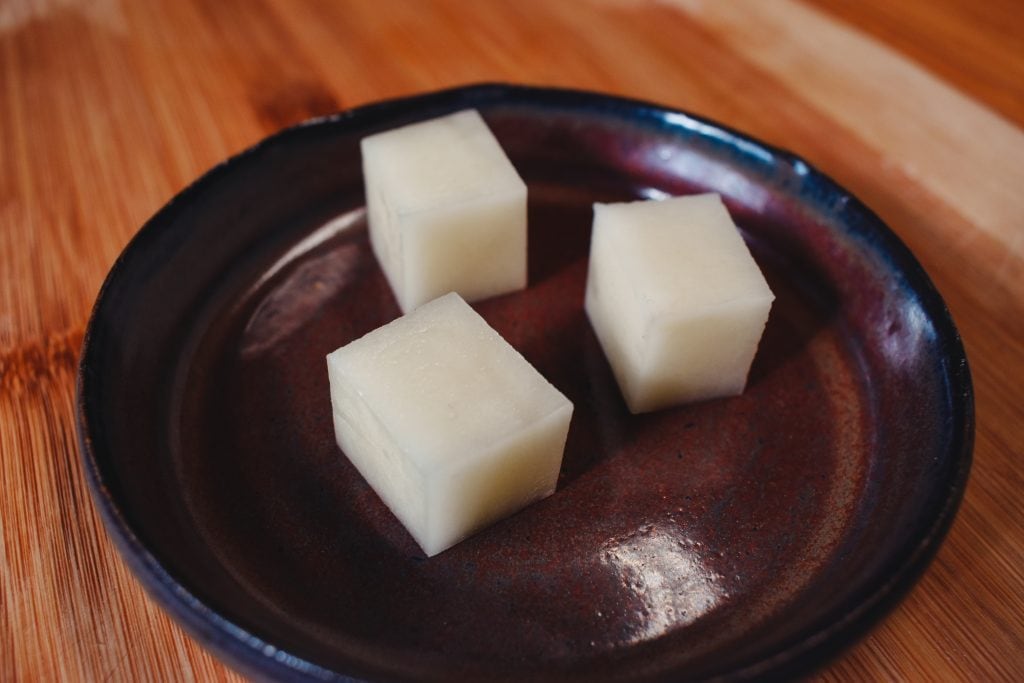
Start with a baton cut ingredient that measures ¾ inch on each side, and is 2 to 3 inches long. Line up each of these baton sticks, and turn them 90 degrees on your cutting board. Then, make cuts at every ¾ inch interval, resulting in perfect ¾ inch cubes. The large dice is most commonly used for potatoes, so try it with savory breakfast potatoes that are either baked or pan-fried.
Medium Dice
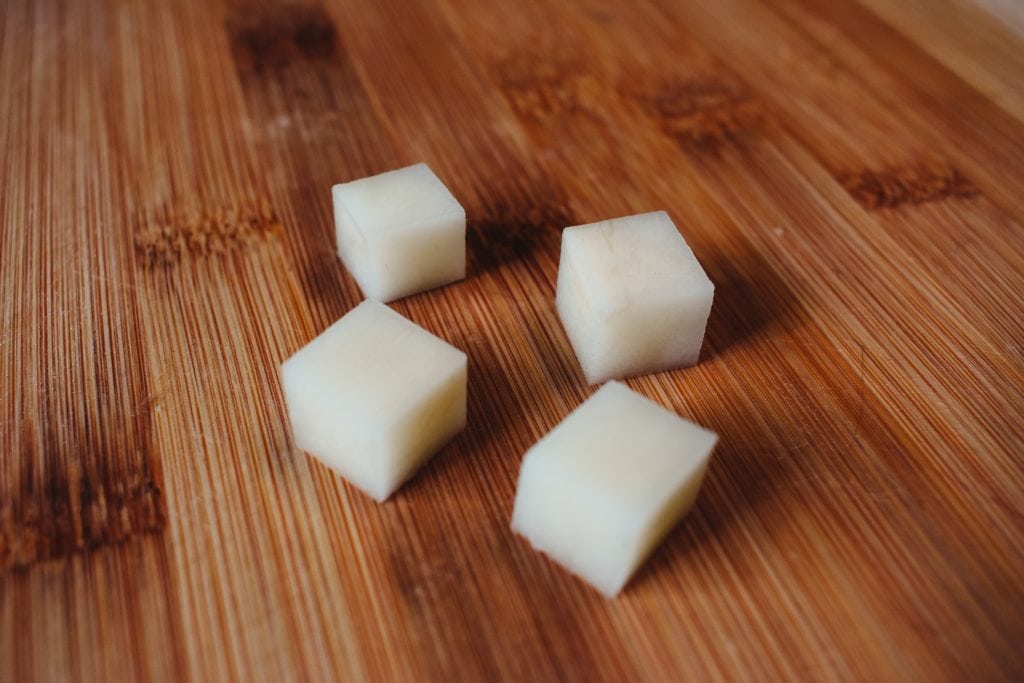
The medium dice also comes from the baton cut, but with ½ inch sides. Once again, line your baton sticks up on your cutting board, then turn them 90 degrees. Cut in ½ inch sections, and you’ll end up with perfect ½ inch cubes. A medium dice is a versatile cut that works well for almost any vegetable you plan to roast, saute, or bake.
Small Dice

No doubt you see where this pattern is going by now, yes? Starting with your batonnet-cut ingredient, turn it 90 degrees on your board. Then cut at ¼ inch intervals, so you end up with ¼ inch cubes. At this point, your ingredients will cook very quickly — making the small dice an ideal cut for caramelizing onions.
Brunoise
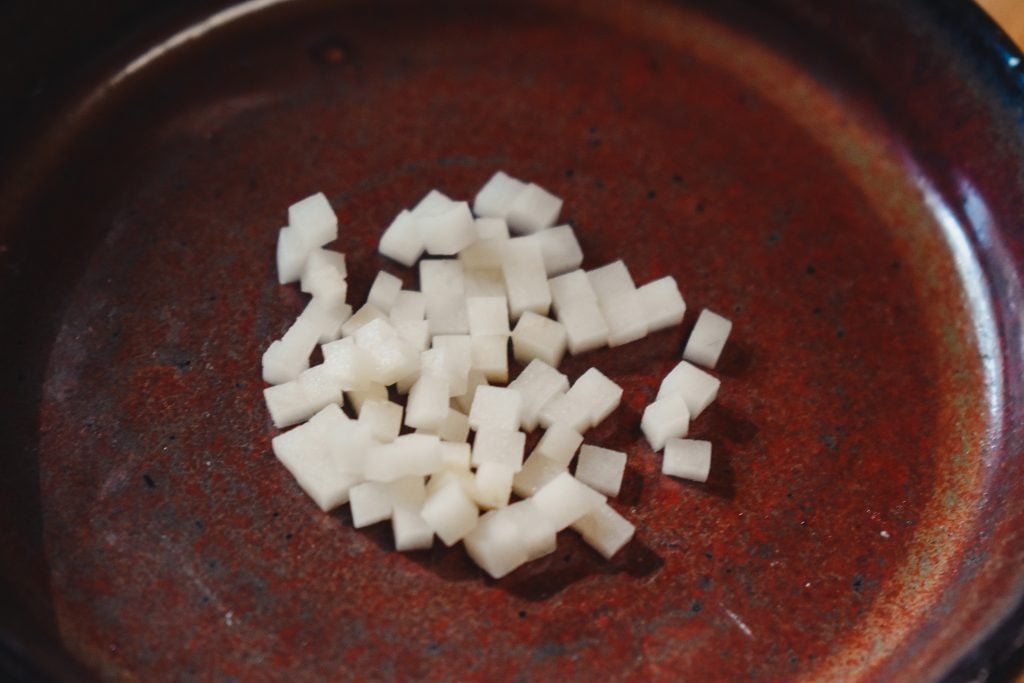
The julienne cut is next in line to be processed into cubes, this time with a tiny measurement of just ⅛ inch on each side. It’s a mark of serious knife skill development to be able to make accurate brunoise cuts! Ingredients cut in this style are almost always used as a garnish for a dish. Try cutting shallots in this way to decorate soups or salads and give them a slightly pungent flavor.
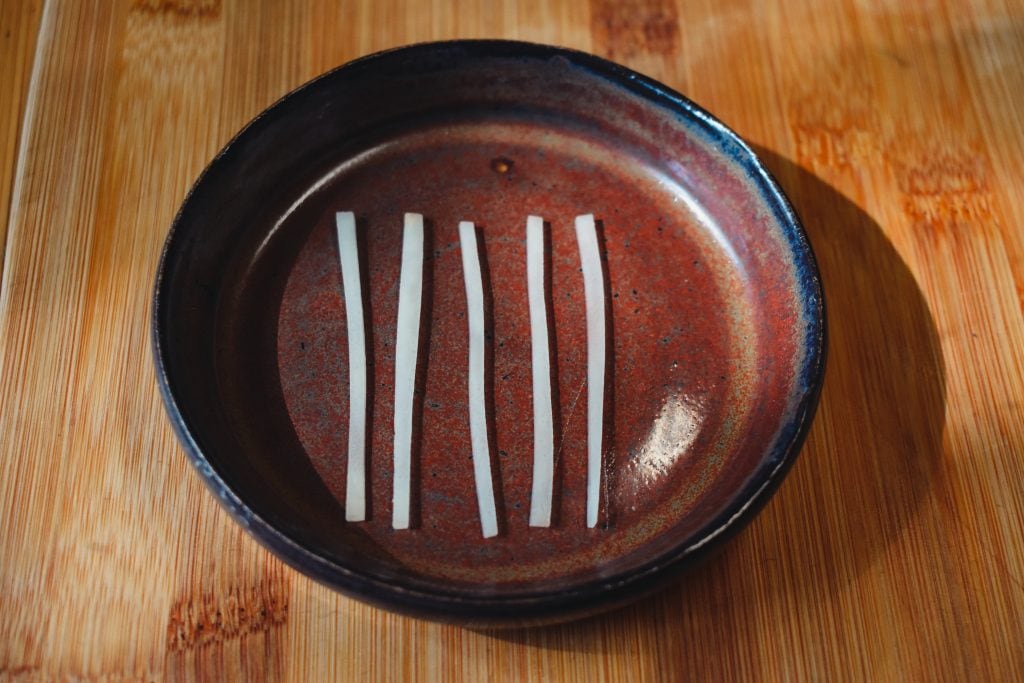
Fine Brunoise
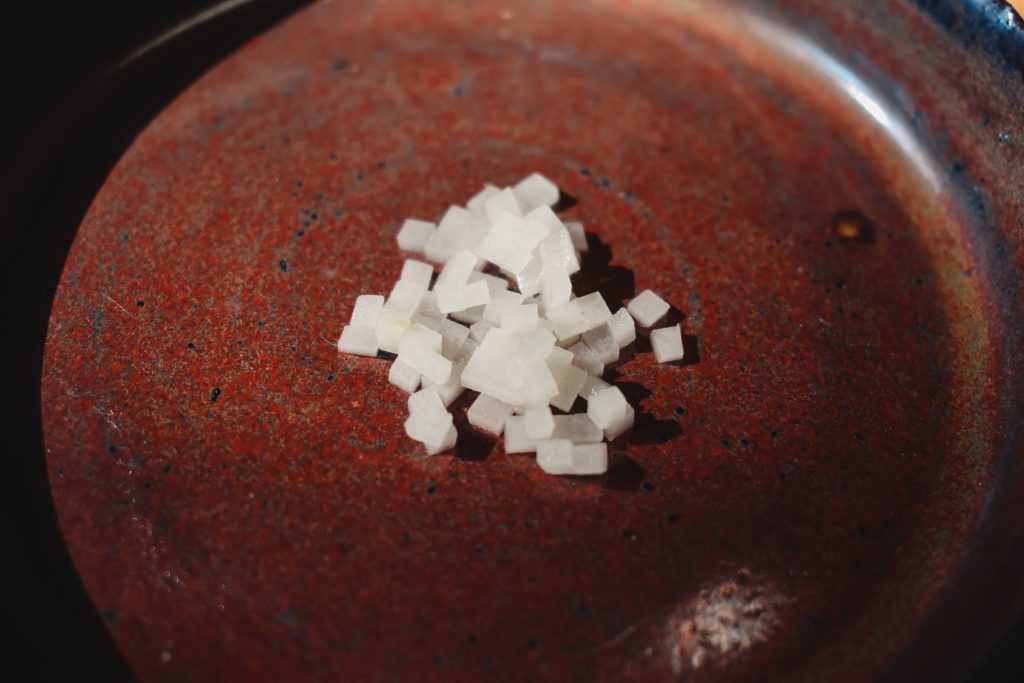
If the brunoise cut is a mark of serious knife skills, then the fine brunoise is proof that you’ve mastered dice cuts. Start with a fine julienne, turn it sideways, and cut into teensy-tiny 1/16 inch cubes. This cut is used almost exclusively for garnishes. One of my favorite uses of the fine brunoise is raw daikon radish, used to top freshly baked fish filets.
Mince
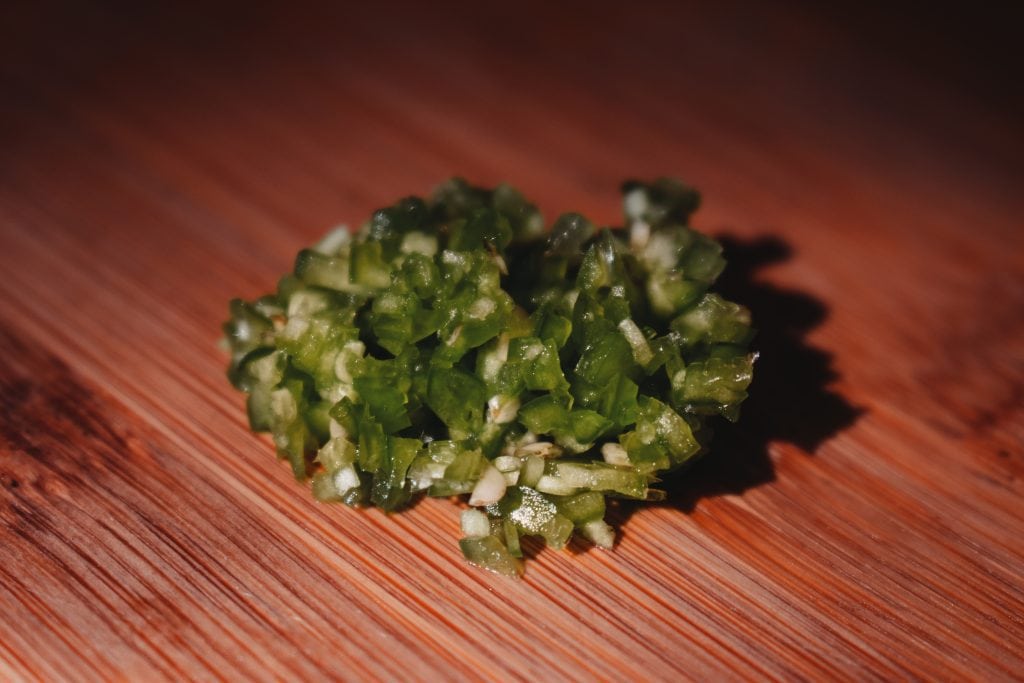
Smaller than the smallest of brunoise cuts, the mince doesn’t have a specific measurement. The easiest way to get a fine mince is to just keep cutting, even after you think you’re done. Then pile your almost-minced pieces together, and do it again (and again). You’ll see recipes call for minced garlic or ginger quite often — a perfect way to get the maximum flavor out of these pungent ingredients.
More Specialized Cuts
The rustic, baton, and dice cuts cover a majority of the recipes you’ll encounter. But a few special cases remain, and I’d like to detail them here.
Chiffonade

Fresh herbs require a different sort of cut: The chiffonade. Grab a few leaves of basil or sage, stack them up, and gently roll them into a cylinder. Then make smooth cuts on the short side, slicing the herb into thin strips. The chiffonade cut is perfect for garnishing salads, soups, and pizza.
Rondelle
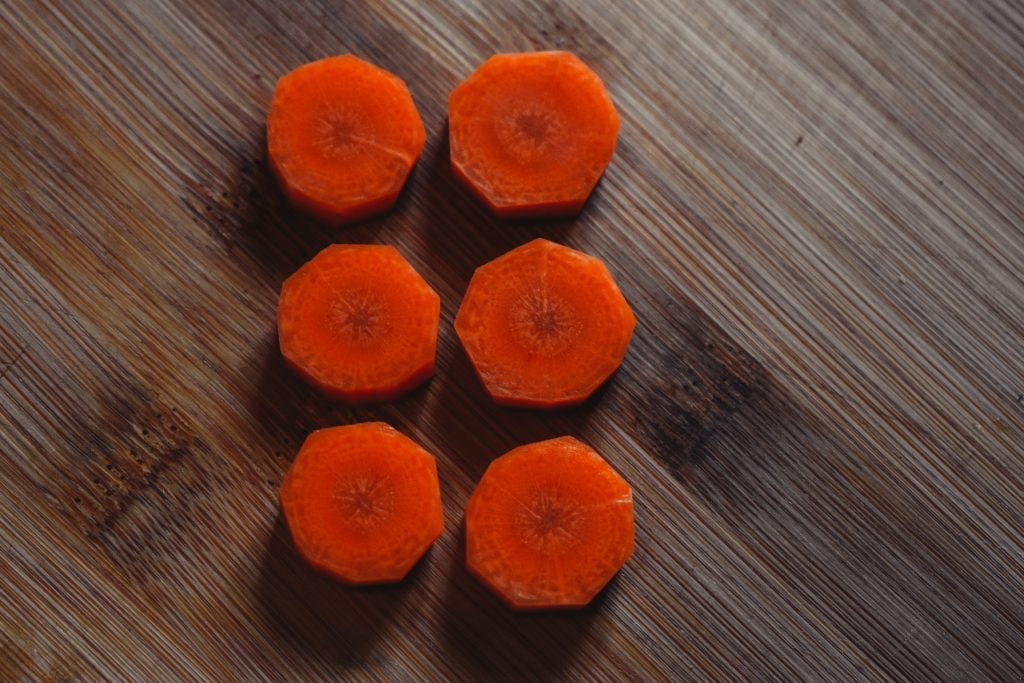
Remember the naturally round paysanne cut? Think of the rondelle as its more refined cousin. The only difference is that you’ll be peeling your ingredient beforehand, giving it more angular edges on its rounded shape. Aim for ¼ to ⅛ inch slices, and use them to dress up an otherwise plain-looking soup or salad.
Bias

To cut on the bias, you’ll need to hold your knife at an angle relative to your ingredient. This will create angled pieces, giving more surface area on each piece. Aside from looking good, this cut also encourages ingredients to cook quicker in stir frys and sautes. Try using it in place of a rondelle or paysanne cut to give greater variety to your plating and presentation.
Tournee
Listed here for completeness’ sake is the tournee, or turned cut. It’s an intricate French preparation that’s used almost exclusively for potatoes. After peeling your potato, you’ll need to make a series of seven cuts, inverting the vegetable after each cut. The result will be an oblong, football-shaped cut that’s intended only to look fancy.